List View
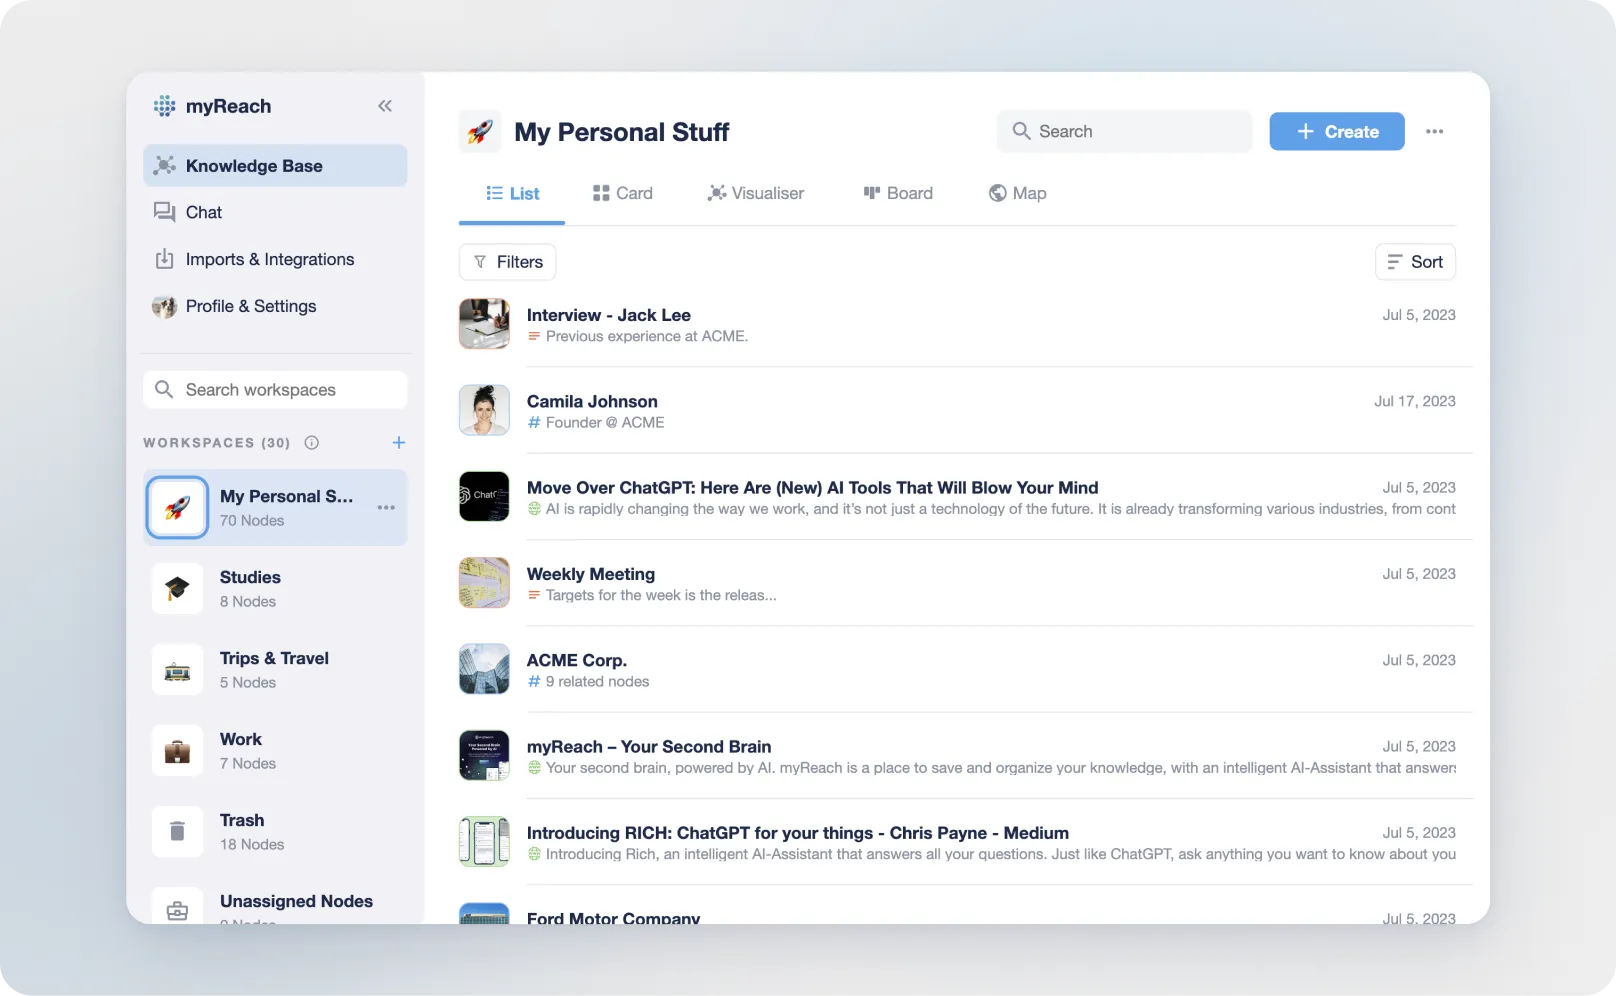
The List View provides a clean, vertical representation of your Nodes, making it easy to scroll through and access information.
It's designed for high-density information management, and is the most efficient layout if you need to process a large volume of data or perform "bulk" actions across your Knowledge Base.
Key Features of List View
1. High-Density Layout
Unlike the Card View, which focuses on visual previews, the List View focuses on text and metadata. This allows you to see more items at once without needing to scroll extensively.
2. Node Information at a Glance
Each entry in the List View provides immediate details about the Node:
-
Node Type Icon: Quickly distinguish between a PDF, a website link or a Note.
-
Title & Description: See the full name and a 3-line snippet of the AI-generated summary.
-
Metadata: Next to the node type, is additional information on the metadata, such as type of file (IMG, PDF, TXT, MP3), the size, and how many related nodes it has.
3. Quick Actions
Hovering over a Node in the List View reveals a set of quick-access tools:
-
On the left side:
a. an option to select the node (useful for bulk selection to perform actions such as send to trash, connect to another node, assign to another Workspace, add a Property, etc).
b. a 3-dot option with additional things such as adding the node to search filters (only nodes directly related to the selected item will be displayed), deleting it, excluding it from the search (searches for everything except things related to that item), etc.
-
On the right side:
a. an option to preview the node (for files – it opens a popup preview), or go to the website (for websites)
4. Mobile app Quick Actions
Swipe Left: to send an item to the trash.
Swipe Right: to unfold a range of options:

-
"Add to": adds the item as a filter for your search. Only nodes directly related to the selected item will be displayed.
-
“Exclude”: searches for everything except things related to that item
-
“Select”: to select multiple items at the same time and do actions in bulk (send to trash, connect to another node, assign to another workspace, add a property, etc).
-
This can also be done by hold-clicking an item.
Sorting & Ordering
Below the search bar, you can click on the "Sort" button to choose how you want to organise the Nodes: - Alphabetical - Last Modified - Creation Date (by default)
As well as: - Newest to oldest (by default) - Oldest to newest
Best Use Cases
-
Batch Organising: It's the best view for selecting multiple items to move between Workspaces or to relate to a new Topic.
-
Audit & Review: Quickly scan a project's contents to ensure all necessary documents are present and correctly named.
Pro Tip
If you are using List View and find that you need to see more data points (like "Cost" or "Priority") without opening each Node, try switching to the Table View. It provides the same high-density list but adds the ability to see Properties in columns.